
6 Tips for Drying Tomatoes

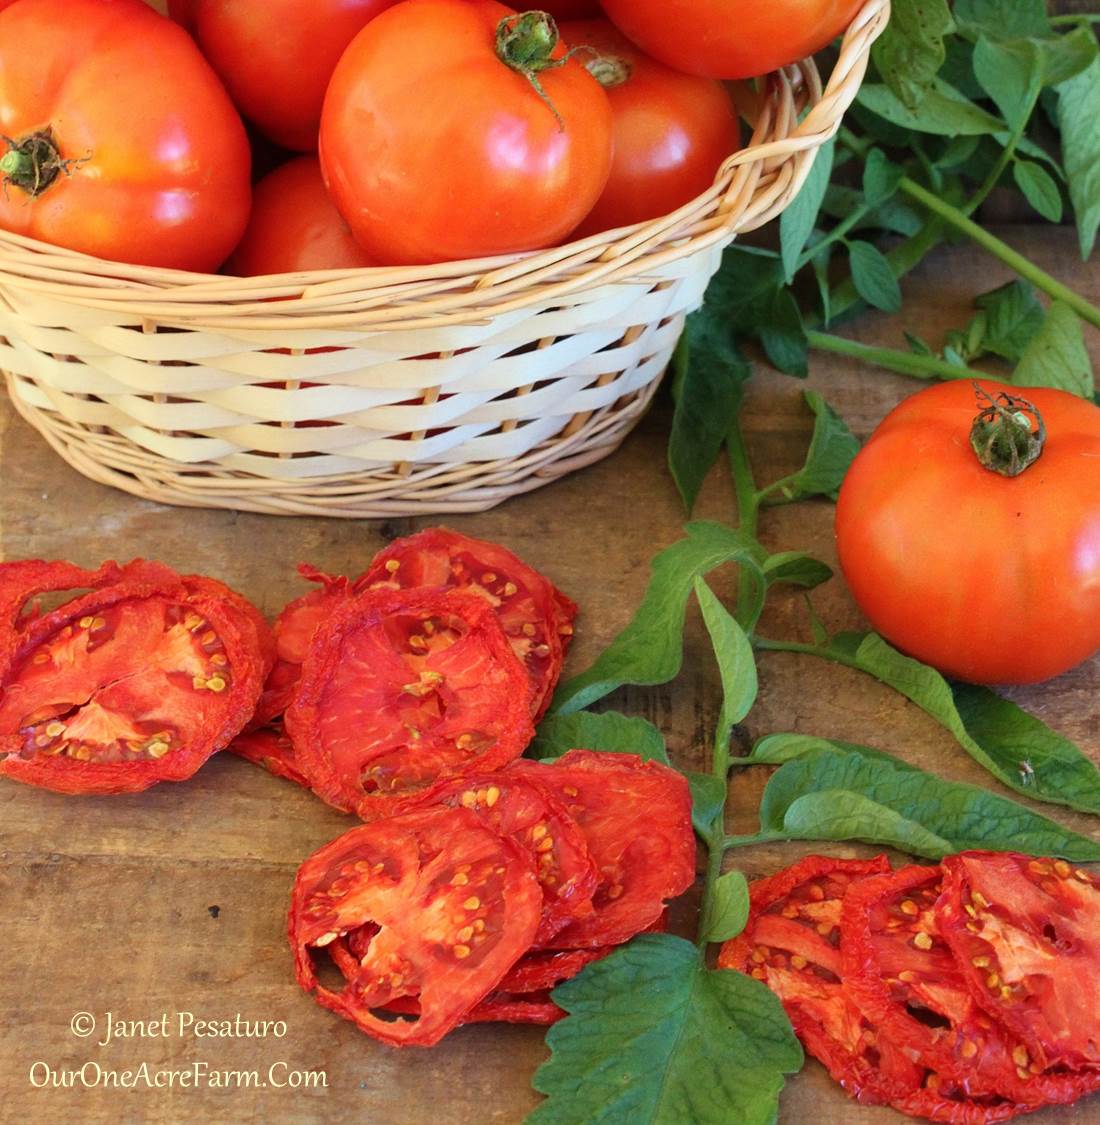
Homemade “sun-dried” tomatoes are simple and results are excellent.
Dehydration is far and away my favorite method of preserving tomatoes due to several advantages.
- The final product requires little storage space.
- If done correctly, dehydration preserves the nutritional value of the tomatoes.
- If dried plain (without oil, fresh garlic, or fresh herbs), it’s an uber safe method for long term storage.
- It’s ridiculously easy – so easy that it seems hardly worthy of a post. Yet there are a few things I’ve learned, which might be helpful, if you don’t already know how to dry tomatoes.
I use a Nesco food dehydrator and jerky maker with 4 tiers. Check out a few different dehydrators, or scroll down for the 6 Tips.
6 Tips for drying tomatoes
1. Use “meaty” tomatoes
Plum tomatoes have relatively less water and more flesh, resulting in more material when dried. You can however, dry any variety. Some years I grow only standard type tomatoes, because none of the varieties of plum tomatoes I’ve grown produce nearly as well in my garden. I find that Early Girl produces an abundance of medium sized fruits which are meatier than many other varieties. The worst tomatoes for drying (most watery) are, in my experience, the big beef steak type. There’s almost nothing left after drying them.
2. Remove the skin from the bottom end
You already know to remove the scar at the stem end. But you should also cut a thin slice off the opposite end and discard it. It takes forever for this piece to dry, because the skin limits evaporation. And when it does dry, there’s nothing left but a flake of skin. So don’t waste space in the evaporator. Toss ’em out to the chickens and they’ll turn ’em into compost for next year’s garden.
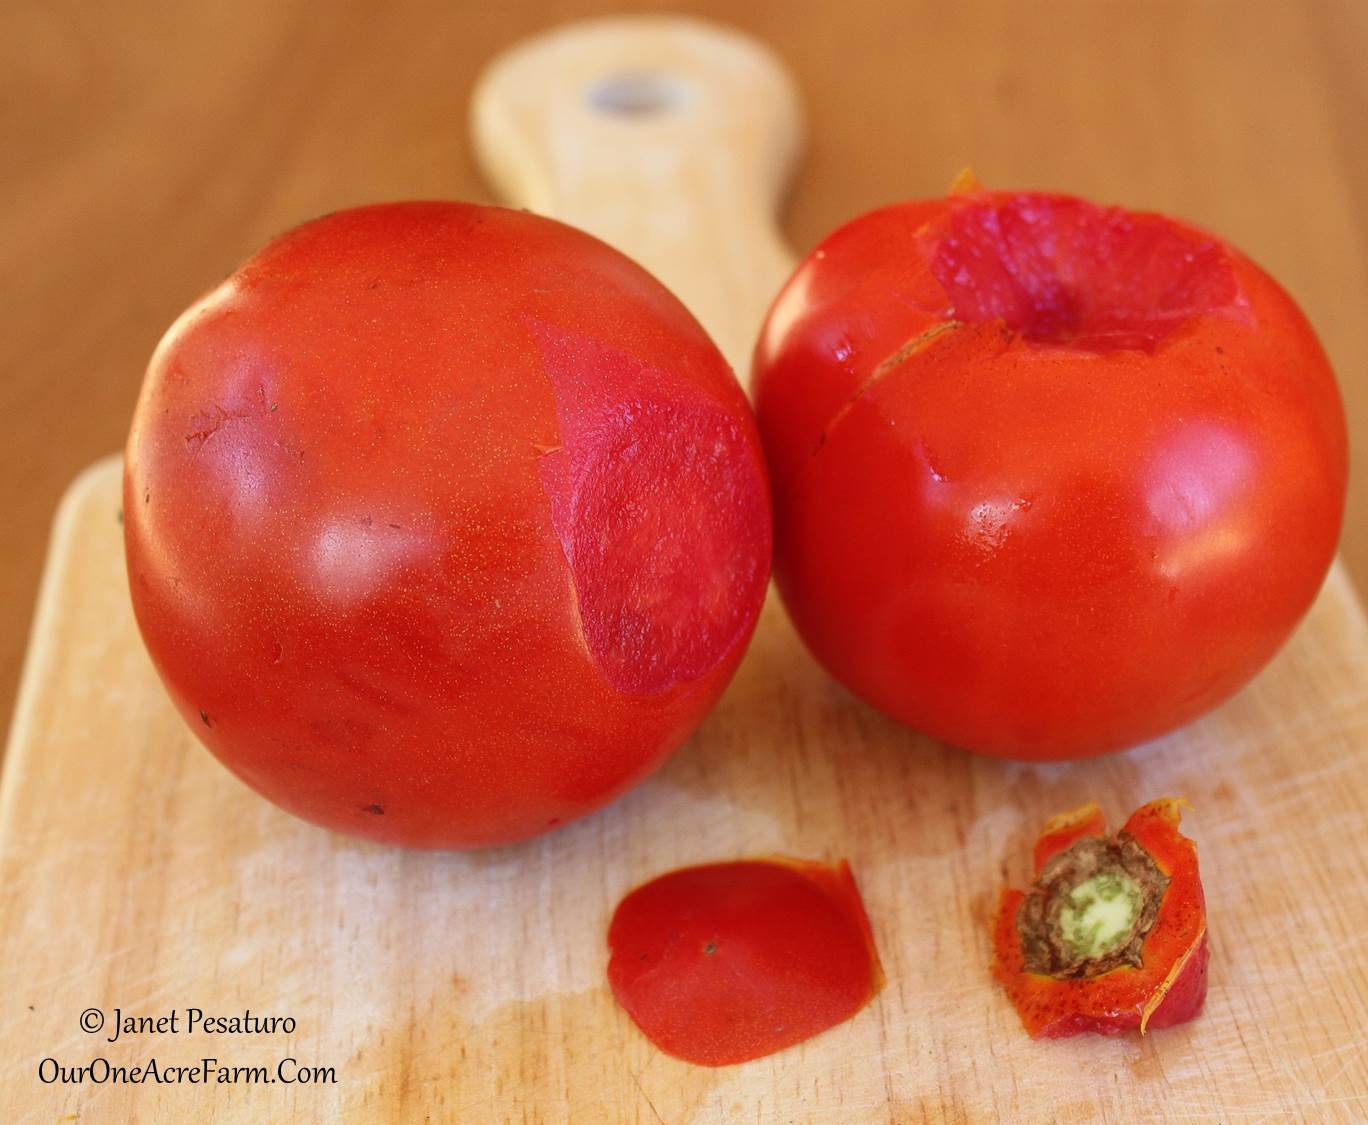
Before you slice the tomatoes, remove the stem scar, and cut and discard a thin slice from the other end.
3. Cut slices of the proper thickness
Cut the tomatoes into 3/8 – 1/2 inch thick slices. Thicker slices take too long to dry. Some people quarter them – I think it takes too long for them to dry. Some people skin them – I think it’s wasteful. It will be tempting to cut thinner slices, to reduce the drying time. But thinner slices have so little substance remaining when dry, that it’s hard to remove them from the tray.
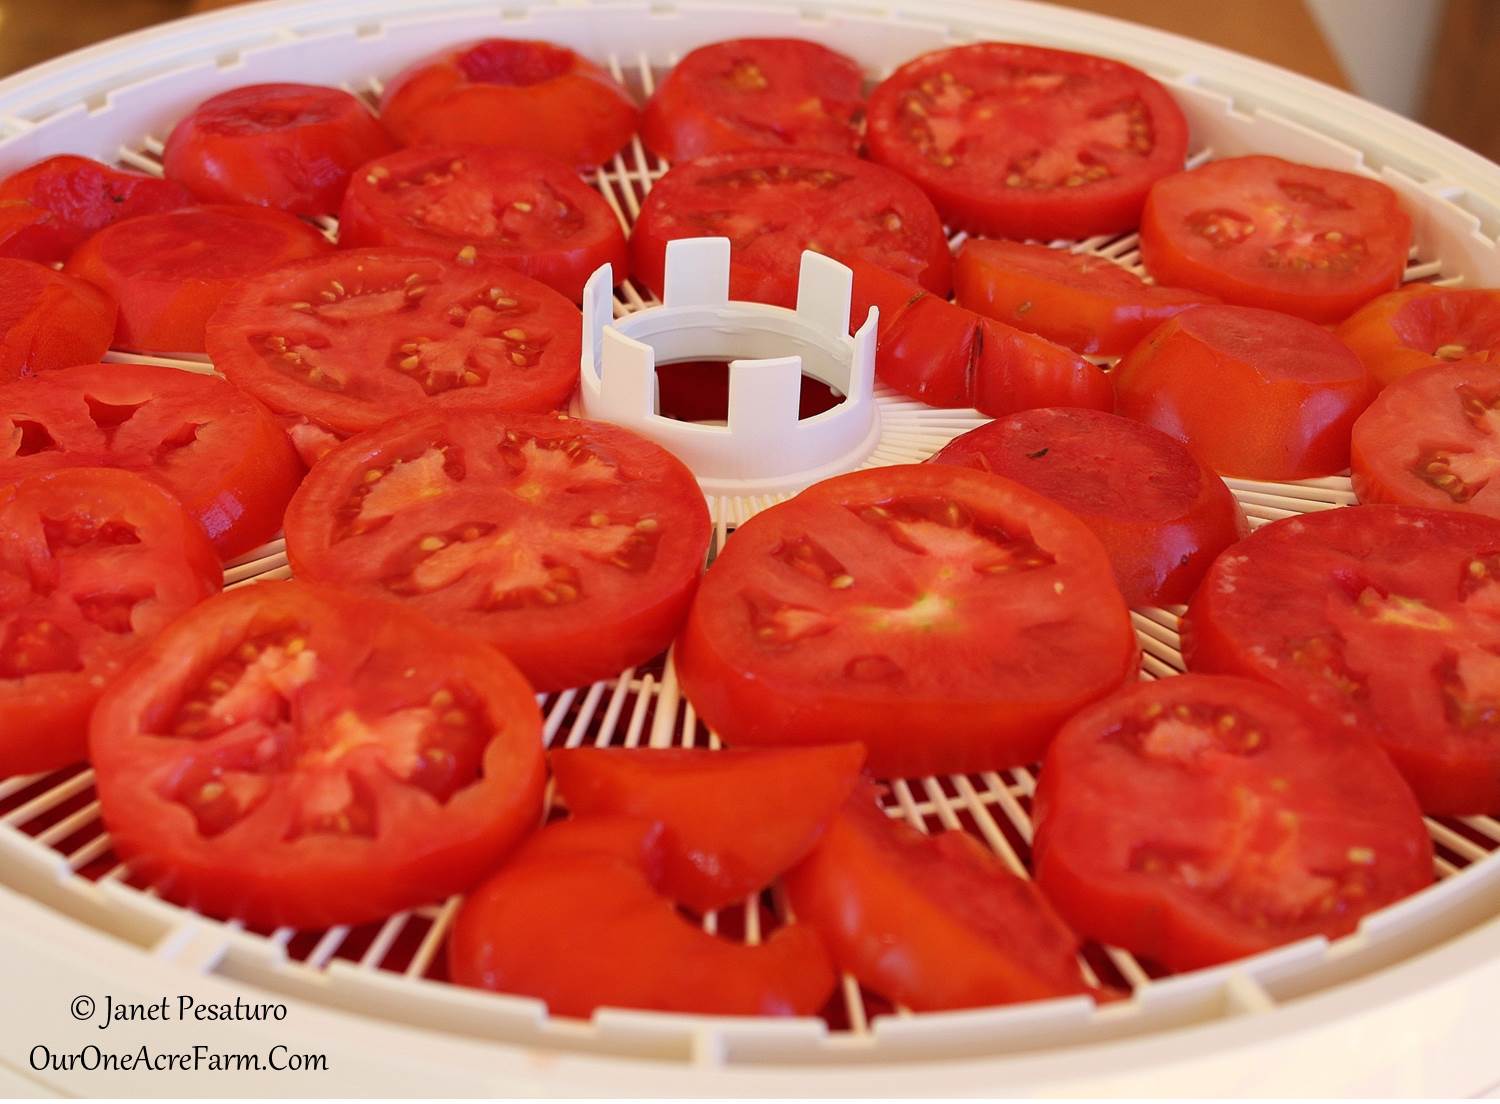
For best results, cut the tomatoes into 3/8 – 1/2 inch thick slices.
4. Dry them at the appropriate temperature
Place the slices in single layer on the tray, and dry them at approximately 135 degrees F, whether using a dehydrator or the oven. (It will take about 8-10 hours, so if you plan to do a lot of dehydrating, you won’t want to tie up your oven for that long, and might want to invest in a dehydrator.)
Many people speed up the process by increasing the temperature, but studies suggest that this degrades the anti-oxidants and vitamin C (see sources at the end of this post).
If you live in a dry enough climate, you might want to dry them outside, to produce bona fide “sun-dried” tomatoes. It might take days, however. Read more about making truly sun-dried tomatoes here.
5. Know how to tell when they are done
Dry until slices are leathery or brittle, and still red. If they are leathery you should not be able squeeze a drop of water out of them. If you can, they are too moist and won’t keep as well. If you dry until they are brittle, you could, if you prefer, powder them in a blender to be used for sauce. Do not let them turn brown. Browning is correlated with a decline in the vitamin C and antioxidant levels.
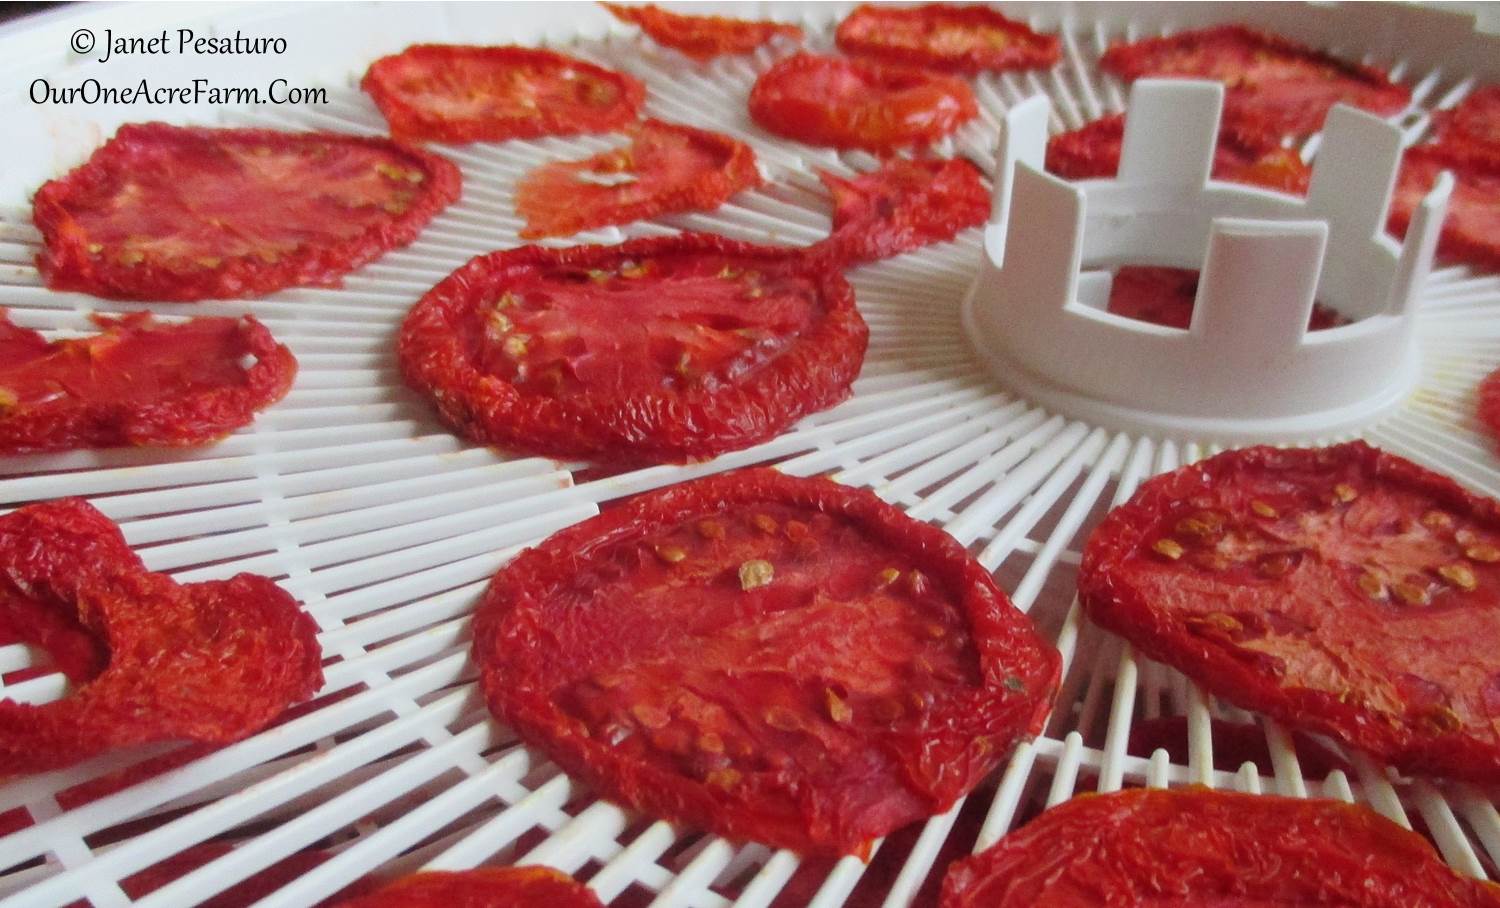
To test for doneness, squeeze the puffiest part of each slice. If you can squeeze a drop of water out, it’s not dry enough for safe storage.
6. Store dried tomatoes properly
Put dried slices (or powder) into an air tight container and store in refrigerator or freezer. A vacuum packager is best, but I don’t have one, so I put the slices in ziploc bags, squeeze out the air, and seal the bag. The colder the storage temperature, the longer the shelf life, so I store them in the freezer.
Want to learn how to safely dry tomatoes with oil, garlic, and herbs? Read about it here.
6 tips for drying tomatoes
Additional sources
- Kerkhofs et al., Change in Colour and Antioxidant Content of Tomato Cultivars Following Forced-Air Drying. 2005. Plant Foods for Human Nutrition 60: 117-121.
- Marfil et al. Ascorbic Acid Degradation Kinetics in Tomatoes at Different Drying Conditions. 2008. Swiss Society of Food Science and Technology. 41:9, 1642-1647.
And so, dear reader, you deserve a medal for making it this far. Now if you’ll excuse me, I’ll move right along to my next crucially important magnum opus: 47 tips for making a perfect peanut butter and jelly sandwich.
What’s your favorite way to preserve tomatoes?
Shared on: Homestead Barn Hop, Thank Goodness It’s Monday, Backyard Farming Connection, Tuesdays with a Twist