Cajeta is a Mexican caramel sauce traditionally made with goat milk, but sometimes with cow milk, or a combination of the two. It is often used as an ice cream topping, as a spread for toast, and as an ingredient for many Mexican desserts. It’s made by boiling a mixture of milk and sugar down to a thick, brown sauce. The cooking caramelizes the sugars, creating a rich, caramel flavor and color.
When I learned how it was made, I immediately saw its potential as an ice cream base. The boiling process denatures the milk proteins, so that they bind water molecules, and much of the water evaporates off anyway. So, I thought, a cajeta based ice cream would have little water available to crystallize out and create grit. The result could be an exceptionally smooth, creamy ice cream. So I tried it, and found I was right. (Lest I seem boastful, I’ll mention here that I’ve tried about 500 other experiments that yielded nothing useful. This one just happened to work.)

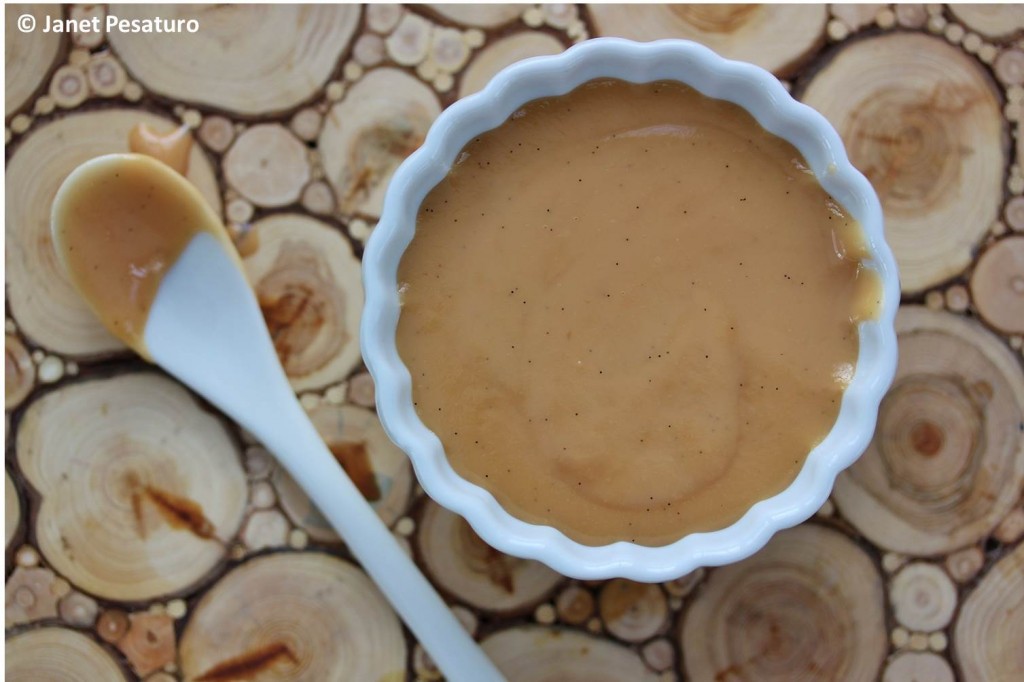
Goat milk cajeta, still warm after cooking. It thickens to a spread like consistency with refrigeration.
Make the cajeta
There are many recipes for cajeta on the internet, but I adapted mine from David Lebovitz‘s book, The Perfect Scoop. I reduced the sugar and tapioca syrup (though he used corn syrup) so that the portion of the cajeta used in my ice cream base would have the appropriate quantities of these ingredients. But if you want to use the cajeta as a topping or a swirl, increase the sugar to 2 cups and the tapioca (or corn) syrup to 4 tbsp. Be aware that with more sugar in the mixture to be caramelized, it will probably get darker than mine when cooked down to the proper volume.
Yield: 2 and 1/2 to 3 cups
- 8 cups whole milk, goat or cow or a combination
- 1 and 1/4 cups sugar
- 1/2 tsp baking soda
- 1/8 tsp salt
- 3 tbsp tapioca syrup or corn syrup (NOT high fructose corn syrup)
- 1 vanilla bean (optional)
- Add the first 5 ingredients to an 8 quart pot
- Slice open the vanilla bean pod, scrape the seeds into the pod, and put the pod itself into the pot.
- Heat on medium-high, stirring occasionally, until it boils. Mixture will foam up high, so be ready to stir or temporarily remove from heat, if necessary.
- Lower the heat to maintain a low, rolling boil, and continue to cook until the mixture becomes a caramel shade, a little lighter in color than peanut butter, and quite obviously thickened. The darkening and color change are gradual. It will take about 1 hour to 1 hour and 20 minutes of boiling to reach the appropriate color. As the water evaporates off, you will need to gradually lower the heat and stir more frequently to avoid scorching, scraping the bottom and sides.
- When it has thickened and you think the color is right, pour it into a large, glass measuring cup. If it is more than 3 cups, return it to the pot and continue cooking. You should be stirring constantly by this point.
- When you’ve reduced it to 3 cups or less, remove the vanilla bean. Measure out what you need for the ice cream, and refrigerate the rest. It will thicken to a spreadable consistency in the fridge. It’s wonderful spread on toast!
Make the soft, milk chocolate chunks
You can use ready made milk chocolate morsels, but those get extremely hard in ice cream. Mine are still crunchy but easy to bite into.
Yield: about 1/2 cup of chunks
- 2.5 ounces milk chocolate (a good organic milk chocolate is Lake Champlain Chocolates)
- 1 tsp mild flavored vegetable oil
- Line a plate with aluminum foil and set aside
- Melt chocolate in a small bowl
- Add vegetable oil and stir until well blended
- Pour onto lined plate and spread into a circle about 4-5 inches in diameter
- Freeze at least 30 minutes, or refrigerate for longer, until firm.
- Break up into small chunks, and keep refrigerated until ready to use
Make the cajeta ice cream with chocolate chunks and pecans
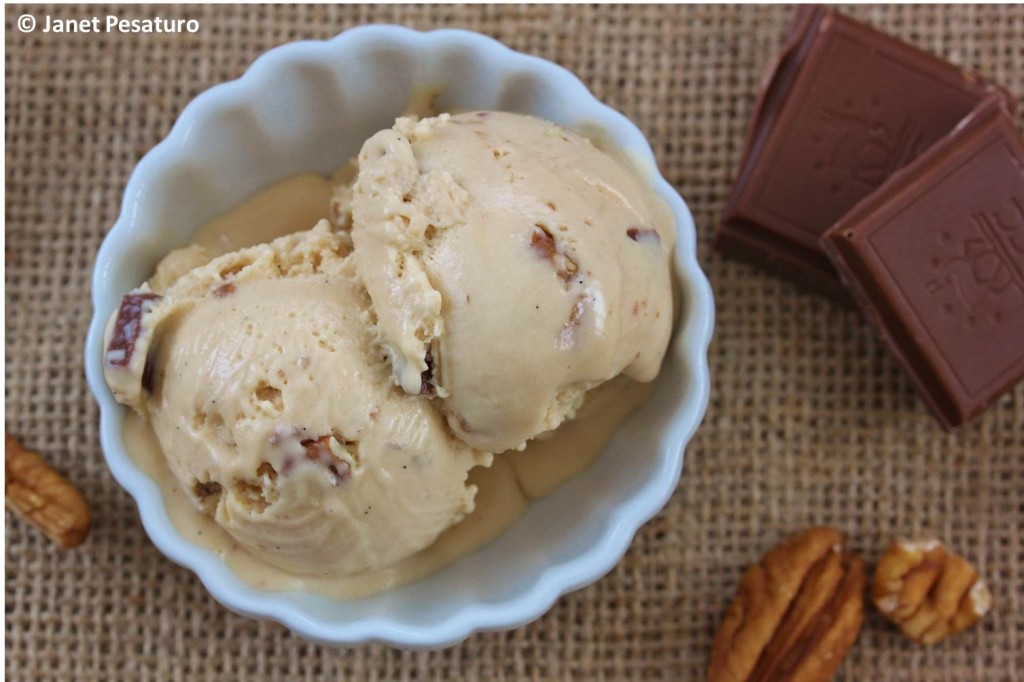
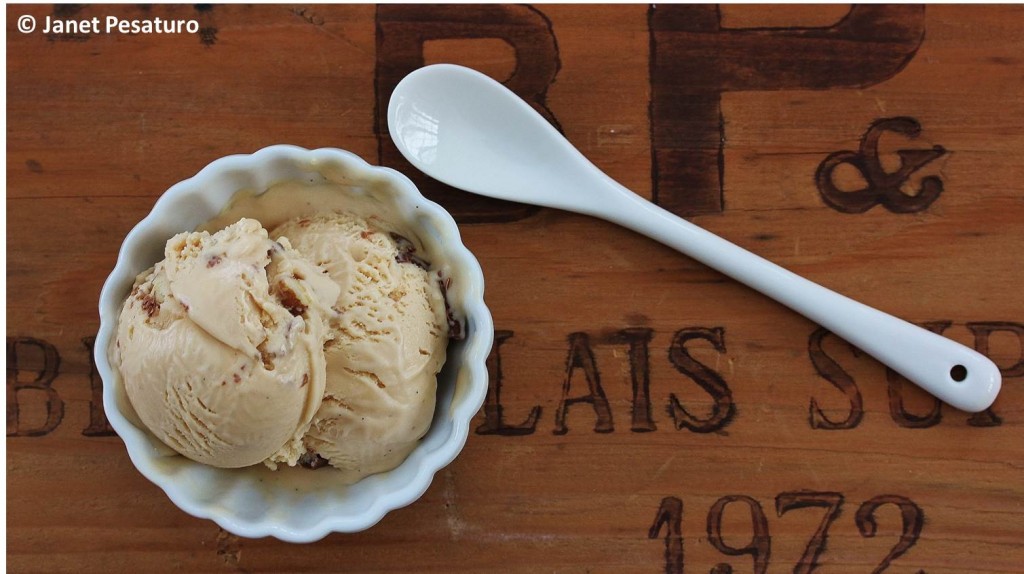
Of course you can add anything you like to cajeta ice cream, or enjoy it plain, but the combination of caramel flavor, milk chocolate, and pecans reminds me of those sinfully delicious pecan turtles. A truly winning combination!
Yield: about 1 quart of ice cream
- 2 cups of warm cajeta from the recipe above (most cajeta recipes are too sweet for this, so use my recipe for appropriately sweetened ice cream for best results)
- 1 cup of whole milk, cow or goat
- 1/2 cup heavy cream
- 1/2 cup homemade soft, milk chocolate chips
- 1/2 cup coarsely chopped pecans (or other nuts, if desired)
- Gradually whisk the milk and cream into the still warm cajeta, until well blended.
- Refrigerate until fully cooled, stirring occasionally, at least 4 hours, but preferably overnight.
- Churn in ice cream maker according to manufacturer’s directions.
- Transfer to freezer storage container, stirring in chocolate chunks and nuts as you do so.
- Freeze at least 2 hours before eating, for firmer ice cream.
Have you made cajeta? What kind of milk do you use?
Shared on: Natural Living Monday, Homestead Barn Hop #148, Homemade Mondays #69, Thank Goodness it’s Monday #59, 104 Homestead Blog Hop #8, Tuesday’s Table, Backyard Farming Connection #69, Tuesday Greens #61, Tuesdays with a Twist #47, Tasty Tuesday, Wicked Awesome Wednesday #149, Down Home blog hop #77, HomeAcre Hop #59, Pin It Thursday, Weekend Re-Treat #56, Mountain Woman Rendezvous #36, Friday Link Love #2, Freedom Fridays #17, 104 Homestead #9, Simple Living Saturdays, Simply Natural Saturdays, Simple Saturdays #12, Simple Life Sunday #7, Pinterest Foodie Link Up #31, Saturday Night Fever #34, Farmgirl Friday Blog Hop #160


Spring is almost here and my mind starts to think ice cream. This is a keeper!
Oh how my mouth is watering. I have never tried this before, but I have to tell you that it is right up my alley & sounds absolutely delicious!
I just saved this and can’t wait to try it! I’ll be sharing this recipe on my Facebook page. I love cajeta and use it to sweeten yogurt, as a dip for fruit and as an ice cream topping. I never thought to use it as a base.
I found a way to make no stir cajeta and love the freedom of being able to go about my day while it’s cooking. If you’re interested, you can read about it here: http://www.farminginmyfifties.com/cajeta-mexican-caramel-to-stir-or-not-to-stir/
Oh my this looks so good! If it wasn’t so darn cold outside I’d definitely be trying this! I’ll be filing this away for a nice warm summer day 🙂
Make your ice cream, draw the drapes, turn the heat up and pretend.
LOL, Diane! I actually prefer to make ice cream in winter because I can set the bowl of ice cream base right in a snow bank to cool it, rather than take up fridge space with it. We have no shame in this house. We eat ice cream year round.
Like you, we need no special occasion or season to eat ice cream. My husband had what he referred to as his “ice cream shirt”. It was flannel with a quilted lining. He wore it for winter ice cream eating. He also had a special spoon. I think he took it to extremes, lol.
Oh my gosh …. I will be DREAMING about this ice cream!!! I cannot wait to try this!!! THANK YOU for sharing this at Freedom Fridays! I’ve pinned this and shared it on my Facebook page! 🙂
Thank you sooo much for sharing this, Jamie!! I’d love to hear how it comes out, if you try it!
Saw this on the Thursday link share and had to check it out! Sounds so yummy!!! Thanks for sharing!
That just looks wonderful! – I’ve been on a ice cream kick lately…I might have to try this.. Thanks for posting – I saw this on 104 homestead.
Carole @ GardenUp green
Pingback: Tuesday Greens #62 - Crafty Garden Mama
Oh my god! This sounds divine! Thank you for sharing on the blog hop!
What a wonderful dessert! Thanks so much for sharing on the HomeAcre Hop. Hope to see you again tomorrow! – Nancy The Home Acre Hop
Pingback: Nut Butter Ice Cream Bases: Easy and Delicious! - One Acre Farm