
Bread and Butter Pickles
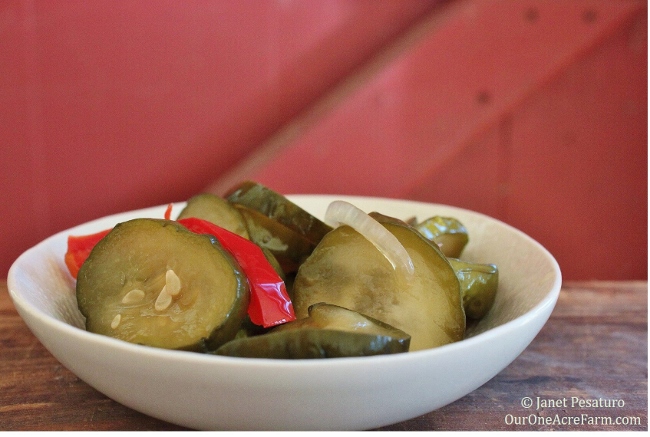
The combination of spices, the brown sugar, and the apple cider vinegar make these bread and butter pickles special.
It’s midsummer, and the vegetable garden is ripe with the bright colors of tomatoes, carrots, sunflowers, squash…and of course, cucumbers. I use the cukes in a variety of cold salads and soups, but my only way of preserving cucumbers is with this recipe for bread and butter pickles. They make an ordinary sandwich into something special.
I tried several recipes for bread and butter pickles before using the one that was the inspiration for this one. I didn’t like any of them. Finally, I turned to a classic: This recipe is an adaptation of Irma Rombauer’s Bread and Butter Pickles in the 1975 version of Joy of Cooking. I’ll be honest, I didn’t love it the first time I made it, but when I swapped the turmeric for allspice and increased the proportion of cucumbers (relative to the peppers and onions), I finally hit upon scrumptiousness.
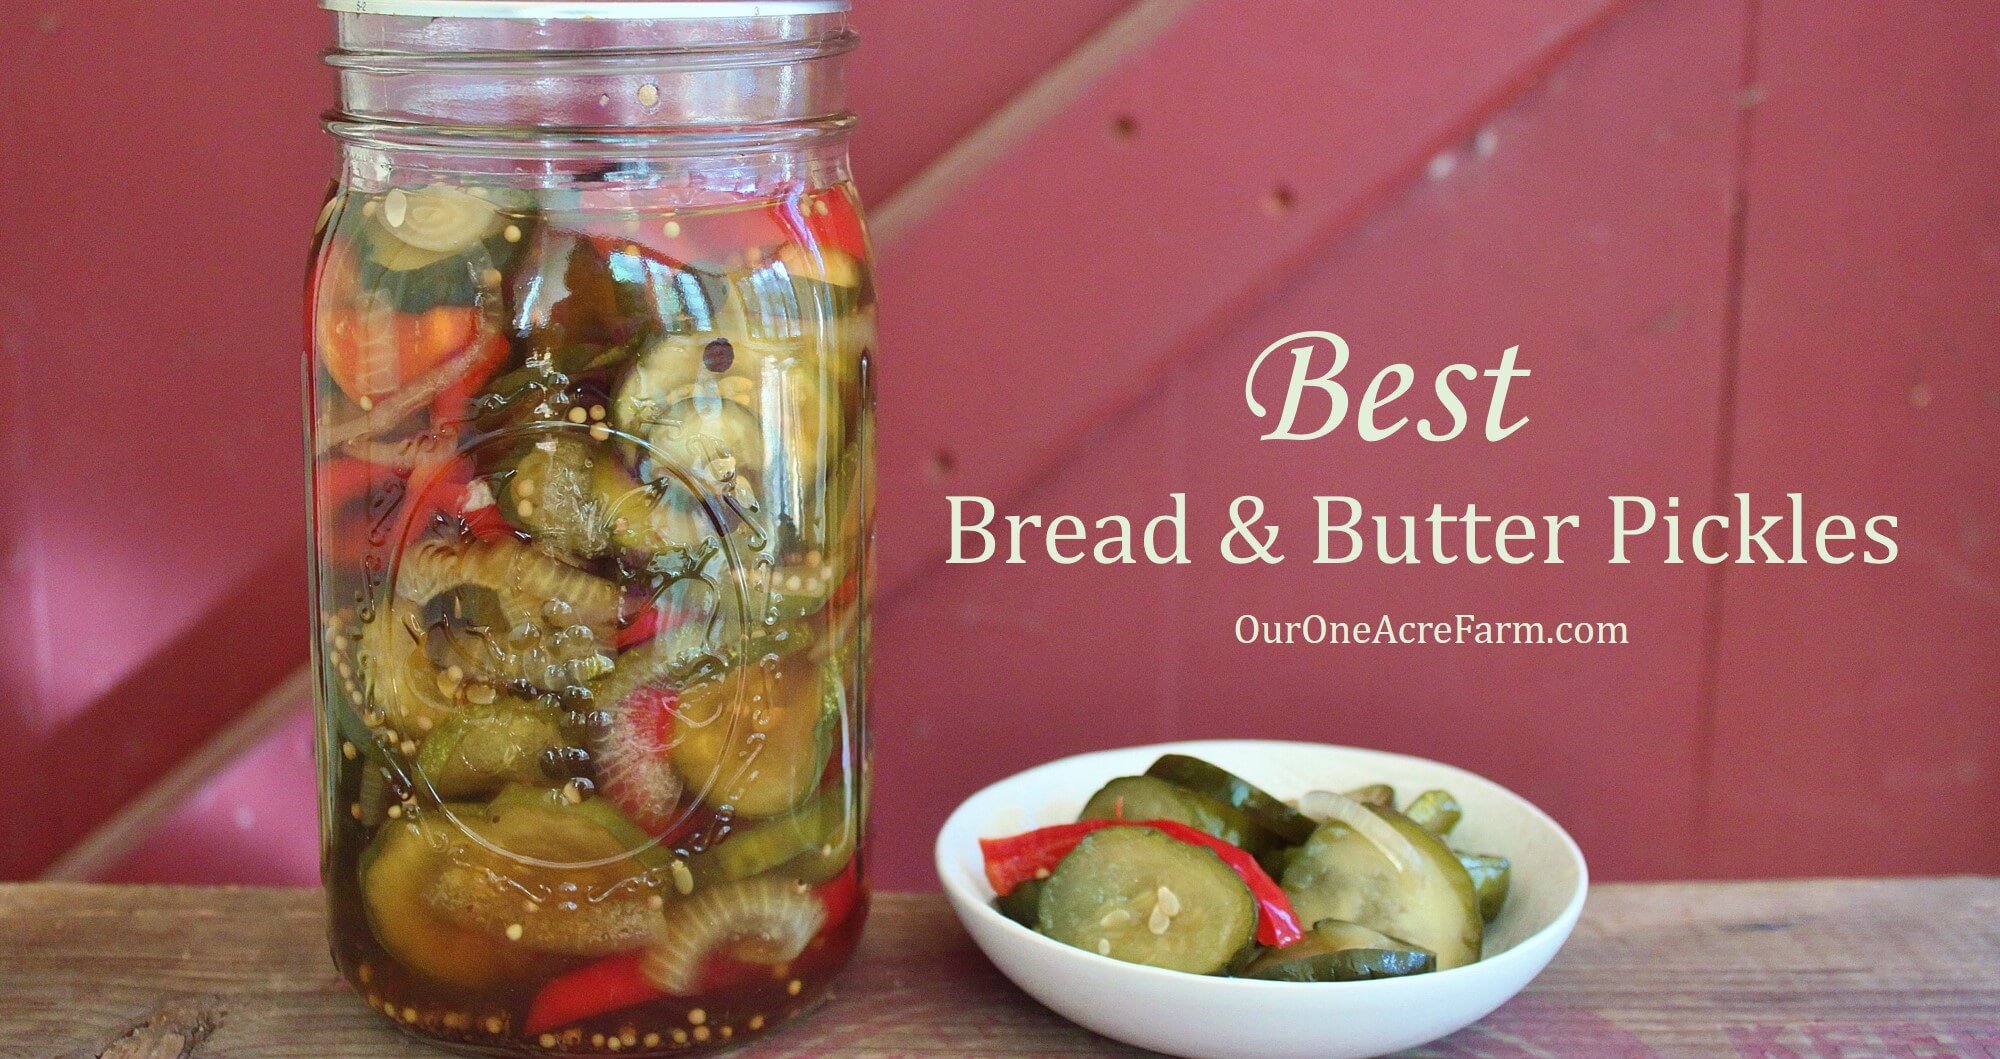
After adjusting Rombauer’s recipe to something I loved, I entered the pickles in an agricultural fair, thinking I had a winner. I didn’t realize at the time that home canned goods were judged, at this particular fair, only on appearance. I also didn’t realize that bread and butter pickles (according to the judge at this fair, anyway) were supposed to be very green, with clear fluid. Mine were judged as poor, because the liquid was “too brown”.
But they were supposed to be brown! The ingredients that make the liquid brown are also those which make these pickles delicious: the apple cider vinegar and brown sugar. So, if you’re like that judge and want no browning in your bread and butter pickles, use white vinegar and white sugar. But if you want them to taste really, really good, use ACV and brown sugar.
About the Ingredients for Best Bread and Butter Pickles
The vegetables
I’ve used both the regular and pickling type cucumbers for this recipe. Either is fine. Bread and butter pickles don’t usually have bell peppers, but the splash of red makes them look nicer, in my humble opinion. They don’t really affect the flavor, so you can omit them if you prefer. Just be sure to add an extra couple of cucumbers so you’ll have enough vegetables for the volume of fluid.
The salt
Iodized salt is not recommended for pickles because the iodine can make the pickles “dark”. That is a no-no in the world of canning, apparently. But I’ll tell you a secret: I’ve used iodized salt in the past. The pickles were darker, but they tasted just fine. You can read more about the reasons for using pickling, Kosher, or pure sea salt here, and then decide what you want to use.
The sugar
If you’re looking for pure green bread and butter pickles with no darkening, you can substitute some or all of the brown sugar with white sugar. I have made this with all white sugar, but I think they taste better with brown sugar.
The vinegar
Here again, the choice of vinegar, apple cider vinegar, in this recipe, contributes to darkening of the liquid. You can use plain white vinegar if you want…but it tastes better with ACV.
The spices
I never liked bread and butter pickles until I found this recipe, and a big difference between it and other recipes is the blend of spices. The whole spices look nice floating around with the vegetables, but you have to remove the cloves and allspice berries when you eat the pickles, which can be annoying. If you don’t want them floating around in yours, just put the cloves and allspice berries in a spice bag as mentioned in the recipe below, and remove the bag before pouring the pickles into the jars.
Water Bath Canning
Water bath canning is used to preserve these pickles. If you are new to this process, I strongly recommend you read this tutorial before starting. The necessary supplies and the entire process are described and illustrated in great detail.
Best Bread and Butter Pickles Recipe
Yields about 5-6 quarts
- 6 quarts thinly sliced cucumbers (slice them before measuring)
- 3 medium yellow onions, sliced thinly, or chopped
- 2 red bell peppers, stem, seeds and membranes removed, and sliced
- 3/4 cups pickling salt, Kosher salt, or pure sea salt
- 6 cups apple cider vinegar
- 6 cups brown sugar
- 2 and 1/2 tsp whole allspice berries
- 2 and 1/2 tsp mustard seed
- 2 tsp celery seed
- 1 and 1/2 tsp whole cloves
- In a large bowl, mix the vegetables with the salt and refrigerate 8 hours or overnight.
- Wash the canning jars and lids. Sterilize the jars in a large pot by boiling in water for 10 minutes. Current recommendations say that lids should not be sterilized, because the lid can distort, resulting in failure to seal. But I’ve never had this happen, so I still boil my lids in a small pot for 10 minutes. Turn heat off after 10 minutes and leave jars in their pots of hot water, covered, until ready to use. Decide for yourself whether to sterilize the lids or not.
- Drain the vegetables, rinse with cold water, drain again, put in a large pot, and set aside.
- Put the vinegar, sugar, and spices (you may put allspice berries and whole cloves in a cloth spice bag if you do not want them in the finished pickles) in another large pot, bring to a boil, and remove from heat immediately.
- Slowly pour the hot syrup onto the vegetables, and stir gently.
- Heat to 185 degrees F, then remove from heat. If you used a spice bag, remove it now.
- Remove jars from the pot, and discard the water inside each jar.
- Pour into sterilized canning jars, using a canning funnel, leaving 1/2 inch head space.
- With a clean towel moistened with hot water, wipe the rim of each jar clean.
- Using clean tongs to pick up the lids, place a lid on each jar. Screw on the bands until tight.
- Make sure the water level is about 2 inches above the tops of the jars, and bring to a boil.
- Boil for 10 minutes if using pint sized jars, or 15 minutes if quart sized.
- Remove jars from boiling water bath, and allow to cool at room temperature. As the jars cool, the volume within the jar will contract, pulling the lids inward, if the jar is properly sealed. When that happens, you will hear a little snap.
- After several hours, check for proper seal by gently pressing down on each lid. It should be firm. If it flexes up and down, it did not seal. Any jars that did not seal need to be refrigerated and used within a week or so. Properly sealed jars can be stored on the shelf in a cool, dark location, such as a basement.
Sources:
Rombauer, I. S. 1975. Joy of Cooking. Bobbs-Merrill Company, New York, NY.
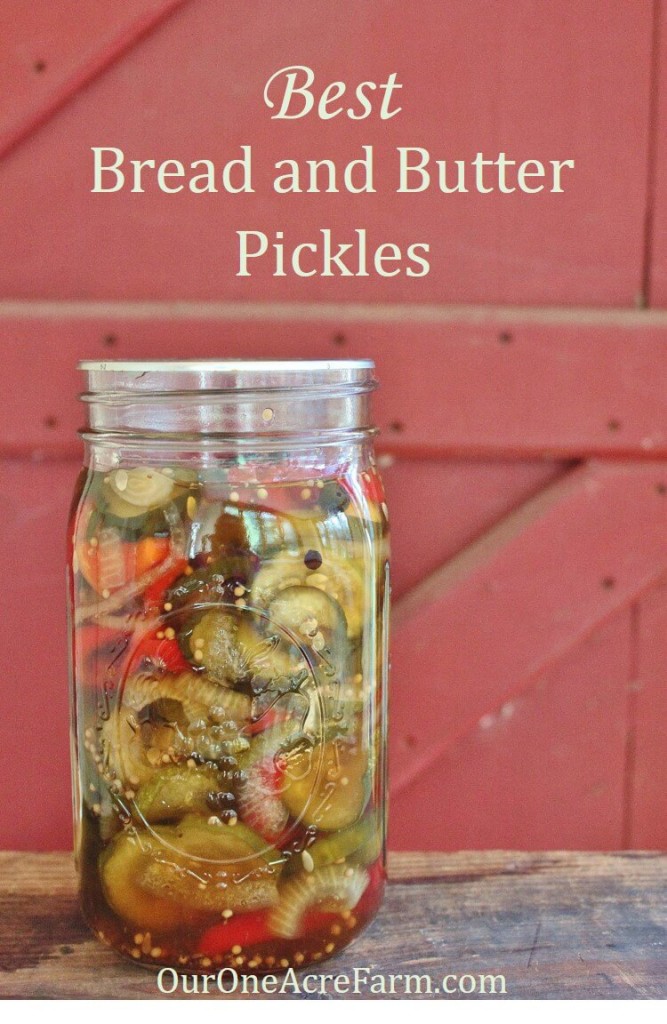
Please pin THIS image.