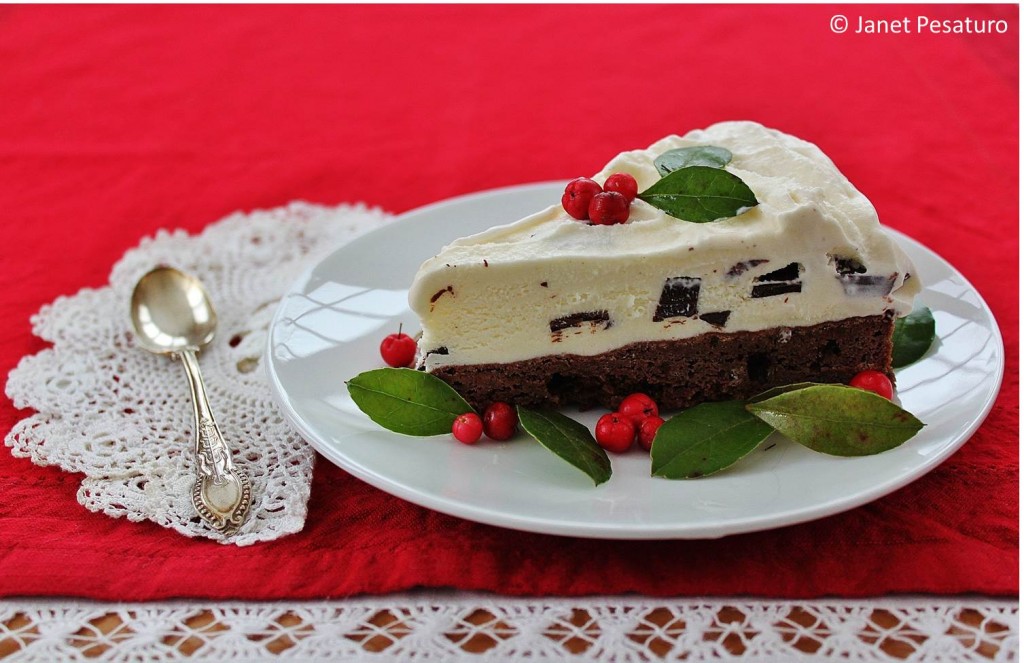
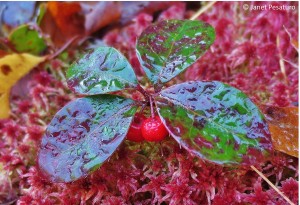
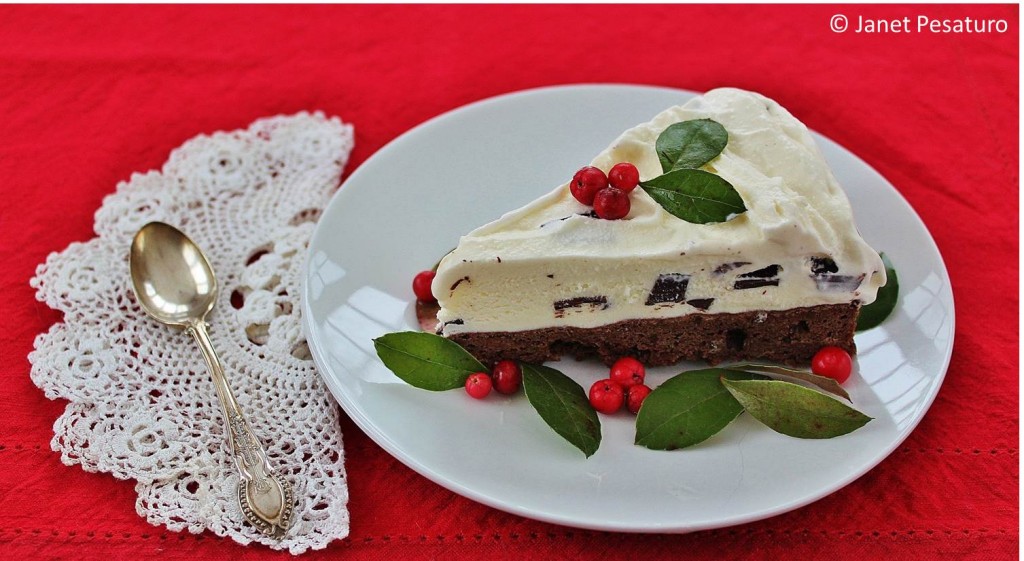
This wintergreen ice cream brownie torte can be enjoyed in any season, but I love it around the holidays, because that’s when my year’s supply of wild wintergreen extract becomes ready to use. In the fall, I harvest the leaves and cover them with vodka to steep for a couple of months, and by December, I have a wonderful minty flavoring.
You can learn to forage for wintergreen and make your own extract here. If that little ground cover called wintergreen does not grow in your area, you can actually make wintergreen extract from birch twigs. And of course you can buy ready made wintergreen extract at your local market, or online.
The ice cream portion of the torte is super simple to make – just whisk all ingredients together and pour it into the ice cream maker. If you are familiar with my ice cream extravaganzas, you know that I am partial to custard style. However, the eggs in a custard make the ice cream yellowish, and I wanted this to be white. If you’d like to go all out and make a custard, go ahead and do so. Make 1 quart of a standard custard base, and add some wintergreen extract.
Brownie base
For this I use a half batch of our family’s favorite brownie recipe: Brownies Cockaigne from the 1975 edition of Joy of Cooking. An oldie, but a goodie.
- 1/4 cup unsalted butter
- 2 oz. unsweetened chocolate
- 2 large eggs at room temperature
- 1/8 tsp salt
- 1 cup sugar
- 1/2 tsp vanilla extract
- 1/2 cup sifted all-purpose flour
- Grease the sides and bottom of a 9 inch spring form pan.*
- Melt the butter and chocolate (I do it in microwave on high, stirring every 20 seconds until melted) and set aside to cool.
- In a medium bowl, beat eggs and salt until foamy.
- Gradually add the sugar and vanilla, beating until well creamed.
- With a spatula, stir the cooled, melted chocolate mixture into egg mixture, with a few swift strokes.
- Before mixture becomes uniform in color, fold in the flour.
- Pour into spring form pan and bake at 350 degrees F for about 15-20 minutes. Be sure to check it at 15 minutes to be sure you do not over-bake it, which will make it dry.
- Let cool completely at room temperature before adding ice cream layer.
*Hint: to prevent the pan from leaking, put the bottom in upside down.
Soft chocolate chips
These are optional, of course, but the chips enhance both appearance and flavor. You can add chocolate morsels instead of making these, but with a bit of vegetable oil to lower the freezing point, these chocolate chips don’t get rock hard in the ice cream.
Makes 3/4 to 1 cup of chips
- 4 oz. semisweet chocolate
- 1 and 1/2 tsp mild tasting vegetable oil
- Line a large plate or small cookie pan with wax paper
- Melt the chocolate in the microwave on high, stirring every 15-20 seconds until melted (about 1 minute).
- Stir in vegetable oil until completely combined.
- Pour chocolate onto wax paper lined plate and spread evenly into a 6-7 inch diameter circle.
- Freeze for at least 30 minutes, or refrigerate longer, until totally hardened.
- Break into small chips and refrigerate or freeze until ready to use.
Wild wintergreen ice cream with chocolate chips
The intensity of homemade wintergreen extract varies. So if you are using your own concoction, I suggest you add 1/4 tsp at a time, tasting after each addition, until you get what you like. For store bought extract, 3/4 tsp gives a flavor of moderate intensity. The tapioca or corn syrup really keeps the ice cream smooth and soft, but if you prefer to omit it, increase the sugar to 2/3 cup.
Makes about 1 quart
- 2 cups heavy cream
- 1/2 cup low fat milk
- 1/2 cup sugar
- 1/4 cup tapioca syrup (light corn syrup is a fine substitute, but NOT “lite” corn syrup, and NOT high fructose corn syrup)
- Pinch of salt
- 1 tsp vanilla extract
- 3/4 tsp wintergreen extract
- About 1 cup of chocolate chips
- Add all ingredients to a large mixing bowl, and whisk until very well combined.
- Churn in ice cream maker according to manufacturer’s directions.
- Stir in cold chocolate chips
Assemble the wintergreen ice cream brownie torte
- Pour ice cream onto completely cooled brownie layer in spring form pan, spreading evenly.
- Cover, and freeze at least several hours.
- Remove about 10 minutes before serving.
- Remove rim of pan, slice with a dry knife, and serve.
Shared on: HomeAcre Hop, Frugal Days, Sustainable Ways #100, Weekly Creative #37, Weekend re-Treat #46, From the Farm Blog Hop, BFF Open House Link Party #135, Blog Strut #20, Show Stopper Saturday, Homesteaders Hop #22, Old-Fashioned Friday #46, Homestead Barn Hop #140, Backyard Farming Connection Hop #61, Thank Goodness it’s Monday #49, Wicked Awesome Wednesday #141, Four Seasons Blog Hop #31, Freedom Fridays #13, The Party Bunch #15, Mix it Up Monday, Fluster’s Creative Muster #57, Tuesday’s Table, Pin it Thursday


Pingback: Wintergreen: how to harvest it and make an alcohol extract - One Acre Farm
This sounds absolutely decadent! I love a minty flavor with chocolate and in a brownie with ice cream – what could be better! Thanks for the recipe!
Oh, this is so pretty and it looks delicious! Chocolate and mint are one of my favorite combinations. Thank you for sharing at the HomeAcre Hop; I hope you’ll join us again this Thursday.
This looks so yummy!! Thanks for sharing with us over at the Homeacre Hop! Please join us again soon! We’ll be taking next week off for Christmas. Merry Christmas!
Mary 🙂
http://www.homegrownonthehill.blogspot.com
I saw this on the HomeAcre hop, and I must say it looks and sounds fabulous! Thanks for sharing 🙂
Sounds absolutely delicious and it is so pretty! Stopping by from the Home Acre Hop.
Pingback: Blog Strut Owl Style #21 | My Personal Accent
Pingback: Blog Strut Peacock Style - Link Party #21 | HomeCentsDecorating.comHomeCentsDecorating.com
Pingback: Blog Strut - Owl Stlye #20 : Implausibly Beautiful
Pingback: Blog Strut - Owl Stlye #21 : Implausibly Beautiful
Pingback: Blog Strut Owl Style - Week 21 - The Squishable Baby
Pingback: Co-Hosting The Blog Strut Social Link Party
You already know that I love this recipe since I stopped by earlier from the Home Acre Hop. So I can’t tell you how excited I was to see it on our Four Seasons Blog Hop! This is truly the most exciting holiday recipe I have seen this season. I have already put it on my dessert list for our Xmas Eve dinner.
Thanks so much for sharing on our party.
Wow, thank you so much! That is quite a compliment, and you have made my week! I am so flattered that you plan to make it for xmas eve – If you do, I would love to hear how people like it. Happy holidays!
Pingback: Wintergreen Extract from Birch - One Acre Farm
YES!!!! you used real cream and real chocolate…. It looks so scrumptious… Thanks for sharing so much!!
hugs x, Crystelle
Crystelle Boutique
Real cream always!!
Oh my gosh. I two of my favorite things. Wintergreen and brownies. Where did you find wintergreen extract? I’ve never seen it in the store.
This looks amazing.
Have a great weekend.
Debi @ Adorned From Above
Hi Debi! I make my own wintergreen extract, and in 2nd paragraph of the post, I gave the link to instructions to make it, and also gave a link to an online source for purchasing. Thanks for stopping by!
Pingback: Goat Milk Ice Cream Bases - One Acre Farm